| You can add a georeferenced image to your IMDV.
|
There are 4 ways to initiate adding an image:
- Drag and drop an image file onto the map. You will be prompted for the new image entry name and the image file will be added as a child entry of the IMDV map.
- Paste and image from the clipboard. This will behave like drag-and-drop.
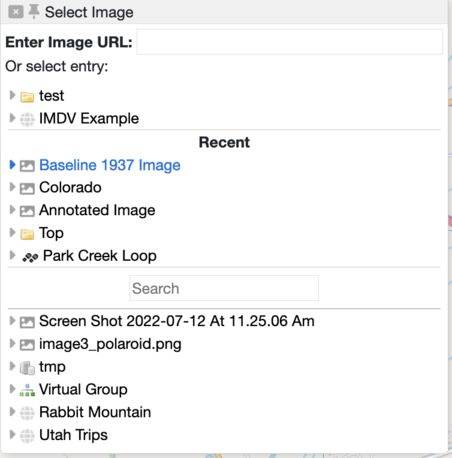
- Upload an image to RAMADDA beforehand. Select New->Image from the IMDV menu and select the image entry.
- Select New->Image from the IMDV menu and enter the URL to the image
Once an image is selected you drag an area on the map.
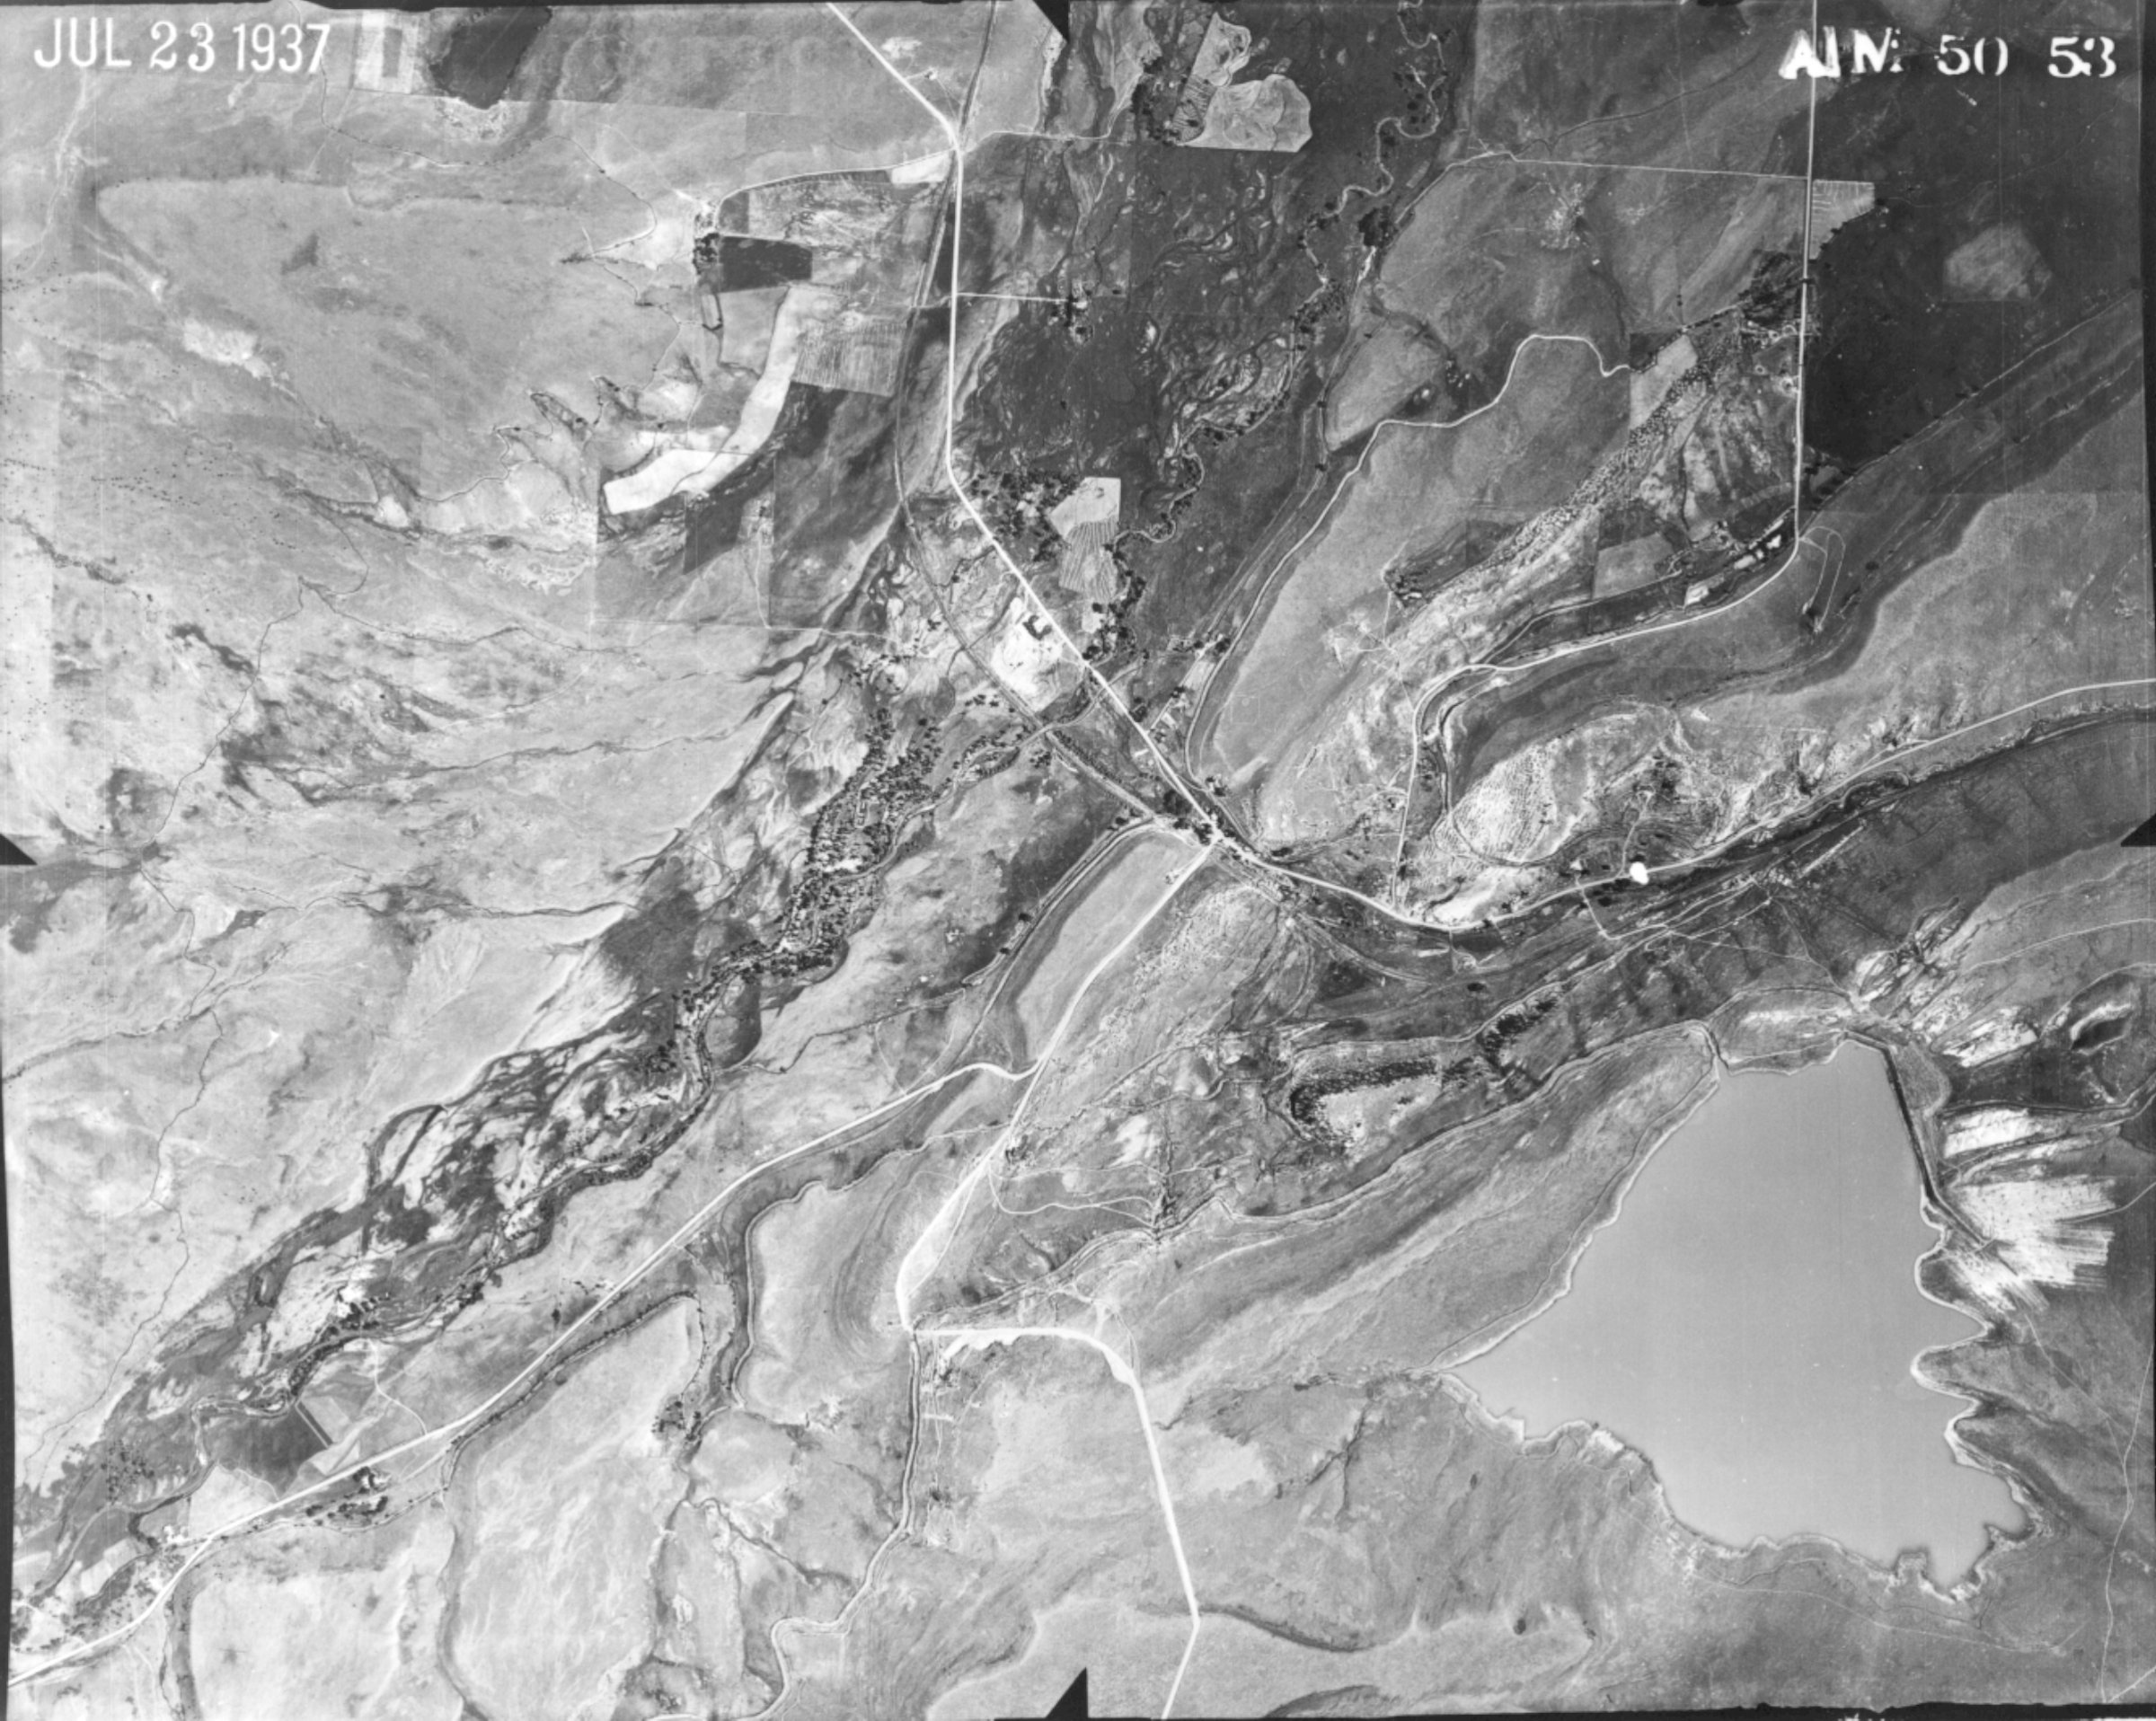
Here we're going to add the below aerial photo taken in 1937 of the Boulder Colorado area.
You can download the example to import into your RAMADDA at
https://ramadda.org/repository/a/userguide_aerial_image .
First upload the image to RAMADDA. Then in the IMDV map navigate to the area of interest.
Then do New->Image and choose the image. If you drag-and-drop or paste the image then
you can forgo this step.
Click and drag out a region. The IMDV will maintain the aspect ratio of the image.
Pressing the shift key while dragging will set the image region to the drag rectangle.
Once added you can change the opacity of the image with the Image Opacity slider or from the
image edit settings. This allows you to see what is underneath the image.
You can also rotate the image with the rotation slider.
Once the image is added its position can be changed using the
Reshape command under the Edit menu.
| Not all imagery will be in the projection of the underlying map so
georeferencing the image can be inexact.
|