| RAMADDA provides a list of licenses that can be embedded into any entry page through the wiki
facility.
|
Licenses can be defined in plugins and can also be created interactively by
a site administrator with a special License entry type.
See
/repository/licenses to view the list of licenses.
To create a custom license:
- Go to some folder
- Add an new entry with "Pick a type..."
- Look for the "License" entry type
- Specify a name, optional image, description, unique identifier and an optional redirect URL.
This results in a License entry, e.g.:
A license is displayed in a wiki page with the "license" tag. The below tag:
{{license  license="cc-by"  includeName="true"  showDescription="true"  decorate="true"
#iconWidth="60px"  #textBefore="extra text"  #textAfter="extra text"
#required="If set then user must agree. Some unique id, e.g., agreed_license_1"
#requireMessage="Message to show"
#requireSuffix="Message to show after license"
#requireShowLicense="false"
#requireRedirect="https://example.com"
#requireOnlyAnonymous="true"
#logName="true"
}}
Gives:
 Creative Commons Attribution 4.0 International
This license enables reusers to distribute, remix, adapt, and build upon the material in any medium or format, so long as attribution is given to the creator. The license allows for commercial use.
The license used is specified with the license="<license id>" attribute. You can select
the license ID from the
list of licenses.
You can also configure the License with custom text, etc.
If you set the required="some identifier" then, when a user visits a page that displays the
license they will be prompted to accept the license. The "some identifier" is used to track
whether the user has accepted the license. If you want to update a license then just cange the
required identifier.
Setting logName="true" will prompt the user for their name and email. This will be
logged by RAMADDA in the file <RAMADDA home>/logs/license.log
This will result in a prompt when a user visits the page that displays the license:
Using the License property
There is also License Property type that can be specified and can then be embedded in entry pages.
To create a License property go to the Entry Add Properties form and, under Basic Properties,
select "Add License". You need to specify the License ID and optionally specify a description,
required ID, message,etc. If inherited is set to true then this License property is applicable
to all descendant entries.
To embed a license property in any wiki page use the properties tag as shown below. The inherited=true specifies to
use any inherited property. The message="" states to show blank if there are no license properties.
Some entry types (e.g., Cultural Site) have wiki text that embeds the licenses.
{{properties message="" inherited="true" metadata.types="content.license"}}
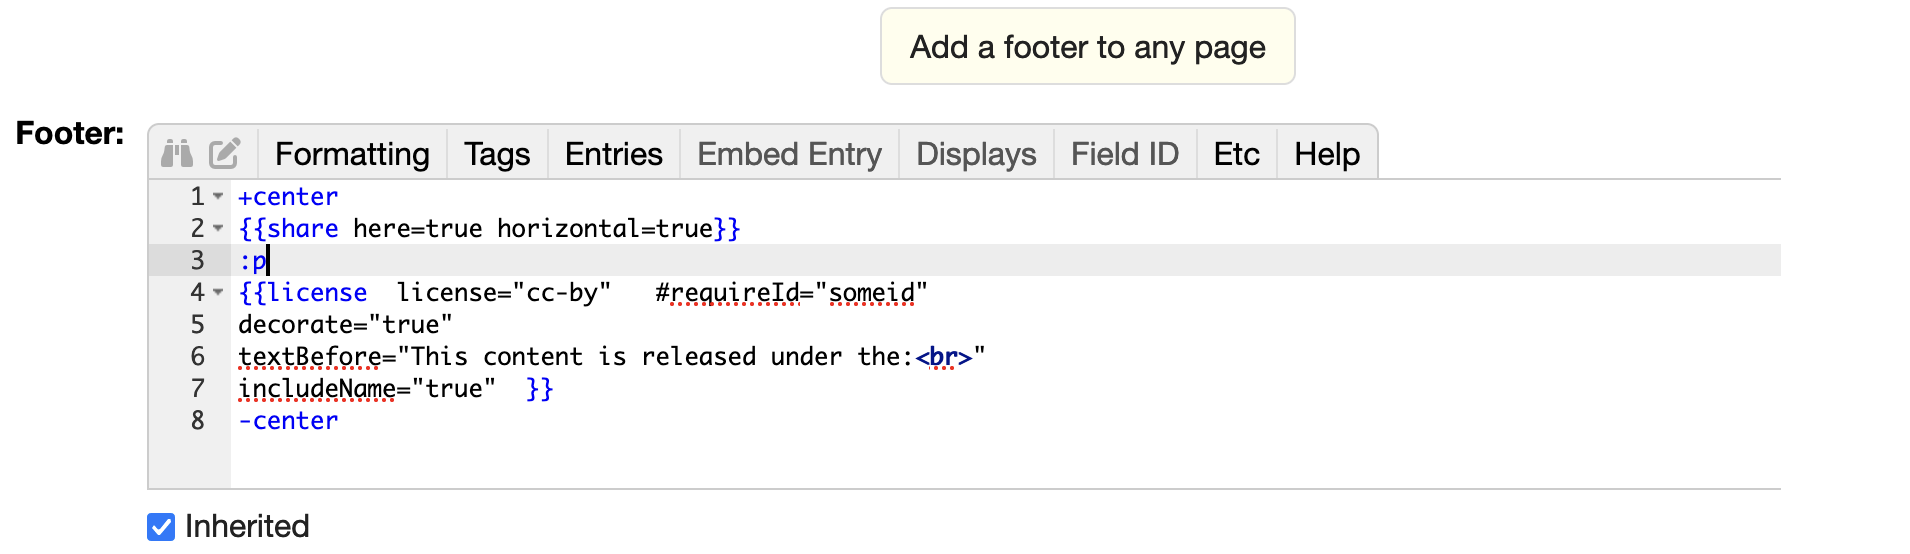
You can add a license to a whole tree of entries, even the entire repository. This is done through
the Footer property:
- Go to Add Property
- Under Thumbnails, Page Style, Etc. choose Footer
- The Footer takes arbitrary wiki text. Add the License tag.
- Select inherited to apply this footer/license to all children pages
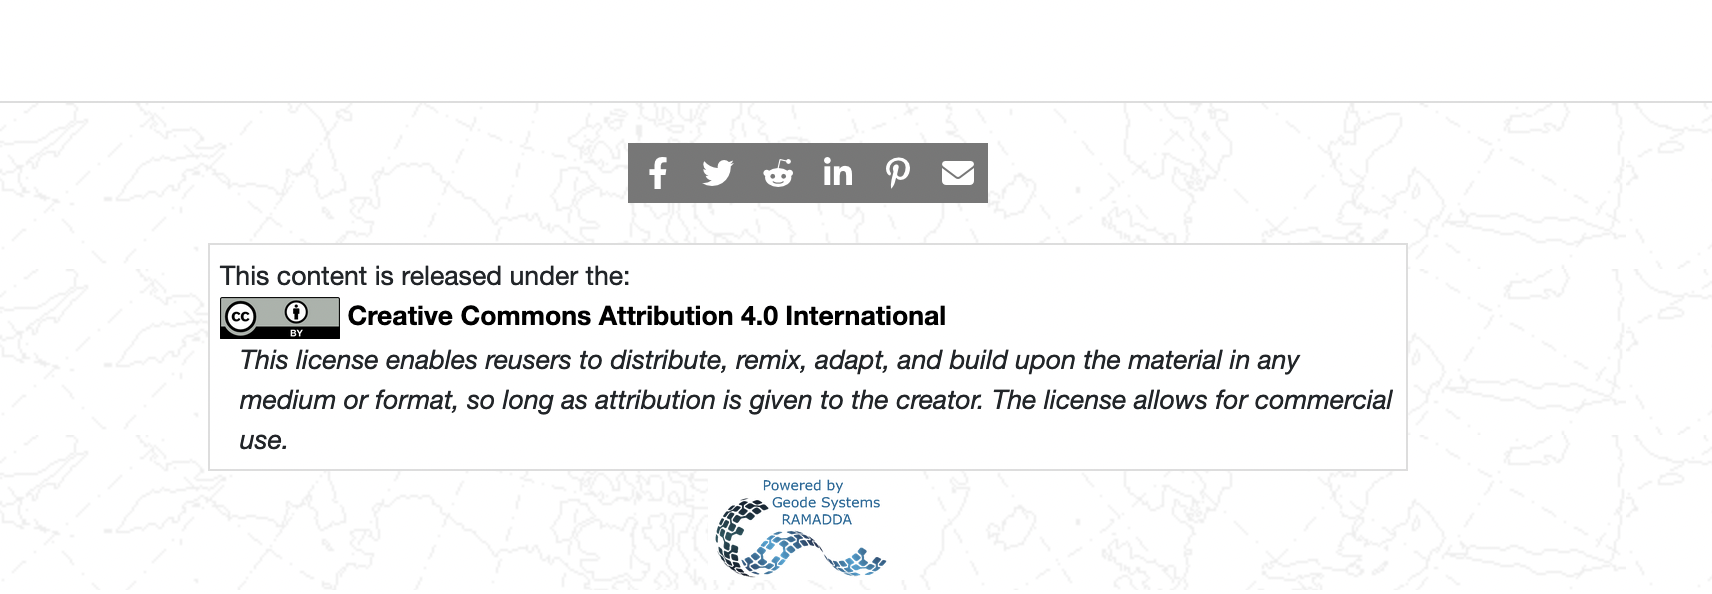
This results in the below footer added to every page: